![]()
Setting a Start Date
To set a start date, follow these steps.
1. Access the editor by adding new content or editing existing content.
2. If adding new content, enter a title and the content.
3. Click the Schedule tab.
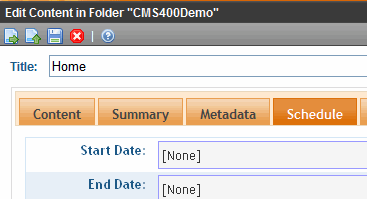
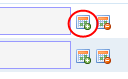
4. Click Add (![]() ) next to the Start Date field.
) next to the Start Date field.
5. A calendar pops up. Select the date and time when this version of the content will become visible on the Web site.
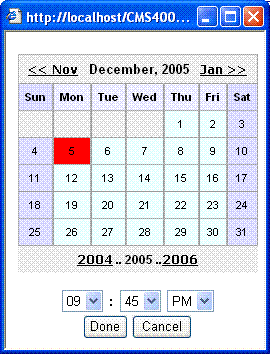
6. Click Done.
7. The date and time appear in the Start Date field.
Note: When you select a time for content to go live, that time depends on the server’s system clock. If the clock is incorrect, the content will not go live at the intended time.
What Happens After I Set a Start Date?
After you save the content, it appears on the Content Pending Start Date report, which helps you keep track of content with a future start date. See Also: Content Pending Start Date Report
After you set a go-live date and the content completes the approval chain, two scenarios may occur:
The content is new
The content already exists, and you are publishing a new version
Each scenario is now explained.
Setting the Go-Live Date on New Content
When you set a go-live date on new content, it becomes viewable on the specified date and time as long as it completes the approval chain. If a site visitor accesses the page that contains the content before then, he sees only the template.
If a logged-in CMS user browses your Web site, he sees a gray border around the content until the date specified. If he clicks within the gray border, he can use the Preview option to see the new content.
Setting the Go-live Date on Existing Content
When you set a go-live date for changes to existing content, and it completes the approval chain, a logged-in CMS user sees a gray border around the content until the date specified.
When you view content on the Web site, you see the previously published version. When the go-live date occurs, the new content replaces the previous version, and its status changes to Active.


![]()